How to Connect Gmail in TenseAI and Automate Email Sending
Learn how to connect Gmail with TenseAI and automate your email workflow easily.
TenseAi Developer Team
Apr 07, 2026
8 min read
"Gmail integration with TenseAI helps automate email tasks and improves communication efficiency. Instead of manually writing emails, users can simply give a command, and TenseAI will generate and send emails automatically."
TenseAi Developer
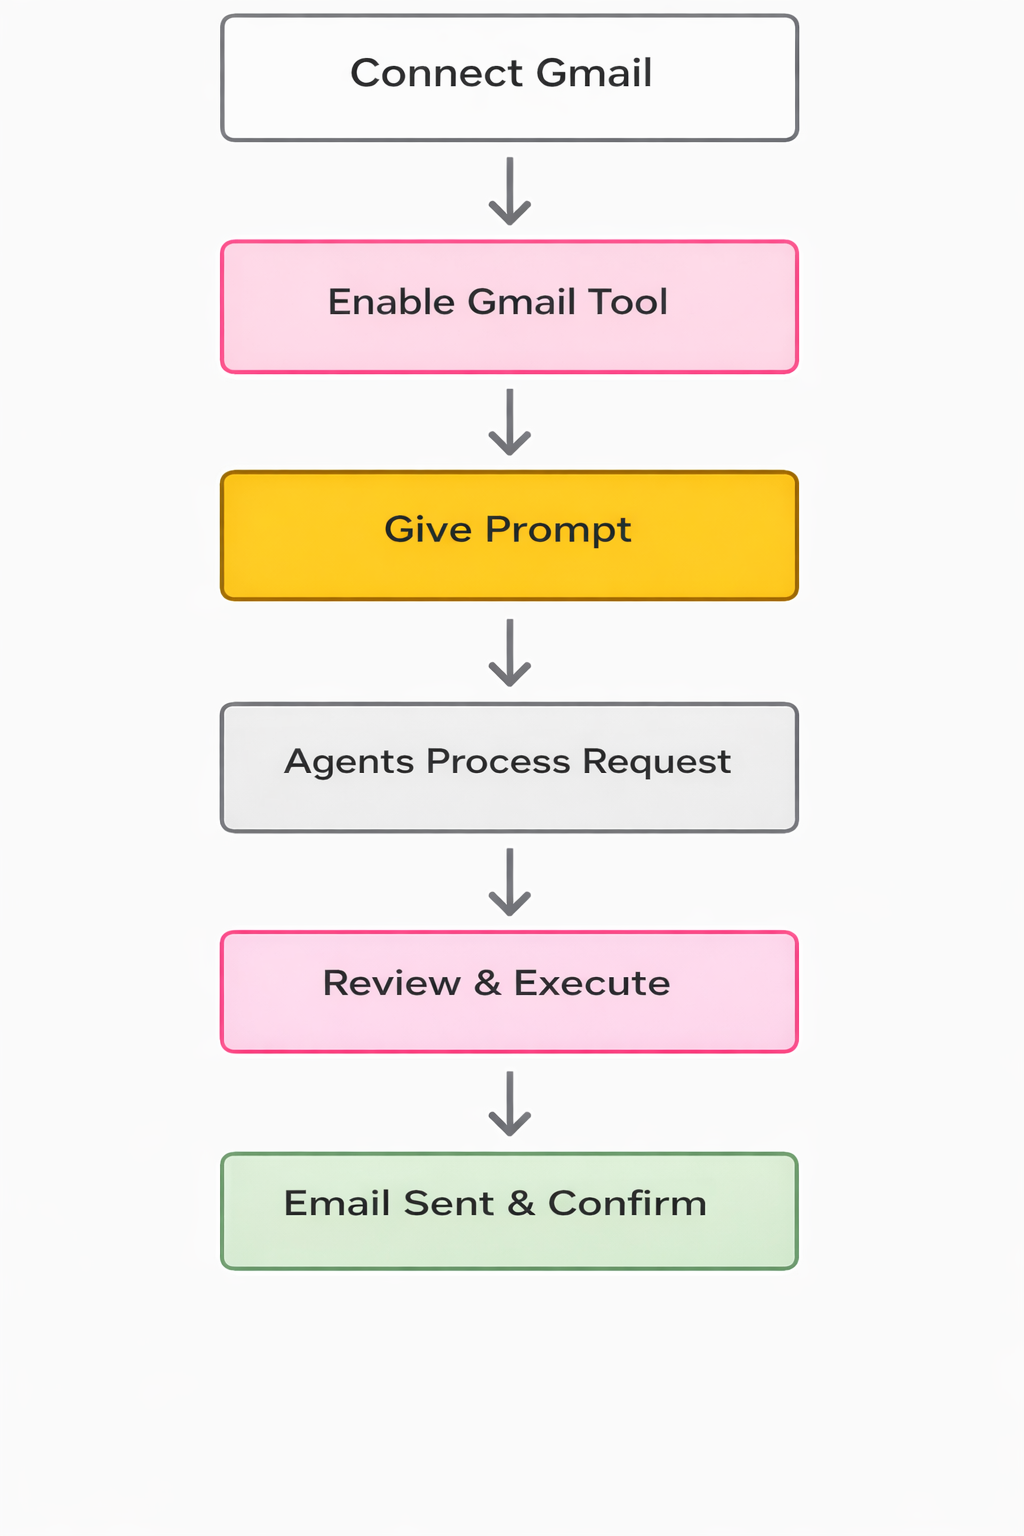
📊 Workflow Flowchart:
🌐 Overview of Gmail Integration
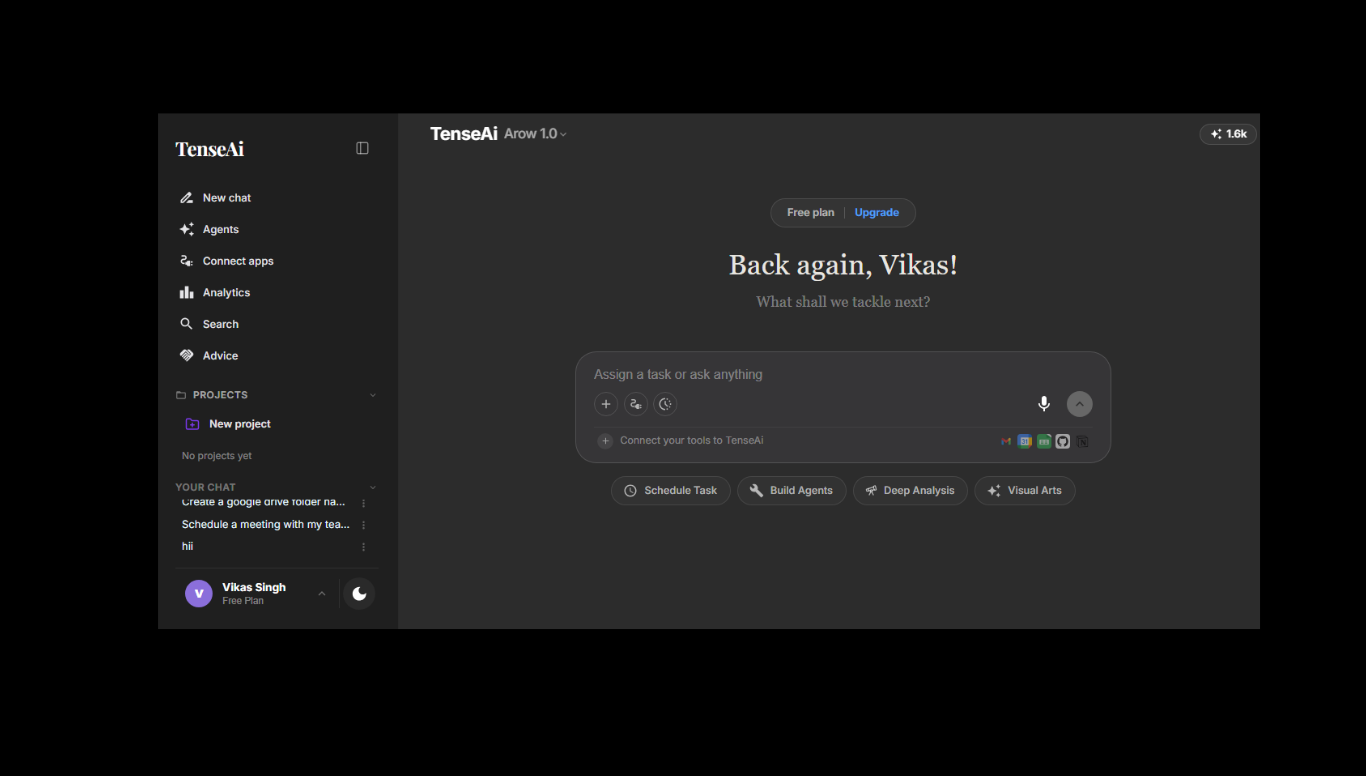
Connecting Gmail with TenseAI makes email automation faster, smarter, and more efficient. Gmail is the gold standard for professional communication, and TenseAI takes it to the next level.
When you integrate Gmail, you gain AI-powered email management. Instead of manually drafting every message, a simple natural language request handles the entire process with ease.
TenseAI uses advanced AI to generate contextually accurate emails, automatically filling in recipients and subject lines, helping you streamline your workflow and boost productivity.
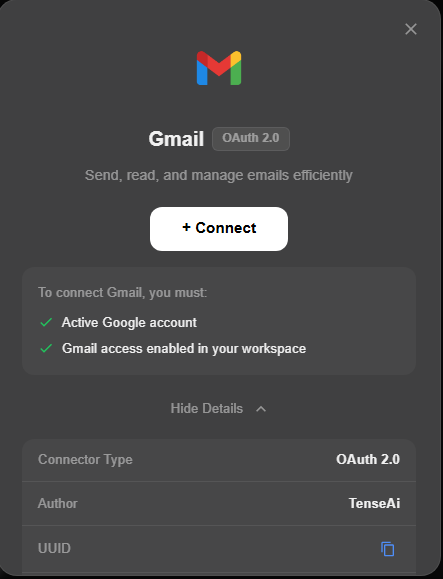
Step 1: 🔗 Connect Gmail
To connect Gmail with TenseAI, click the Connect button and log in with your account. Grant the required permissions to establish a secure, encrypted connection instantly.
This screen initiates the link between your Gmail and TenseAI. Clicking Connect takes you to the secure Google sign-in page to enable email automation with full confidence.
Setup is effortless. Using OAuth 2.0 authentication, TenseAI ensures a safe and transparent connection to your inbox.
After that, you’ll be taken to the Google login page, where you just sign in with your Gmail account and allow the required permissions.
Once permissions are granted, your Gmail is successfully connected. TenseAI can now help you automate complex tasks like drafting, sorting, and sending professional emails.
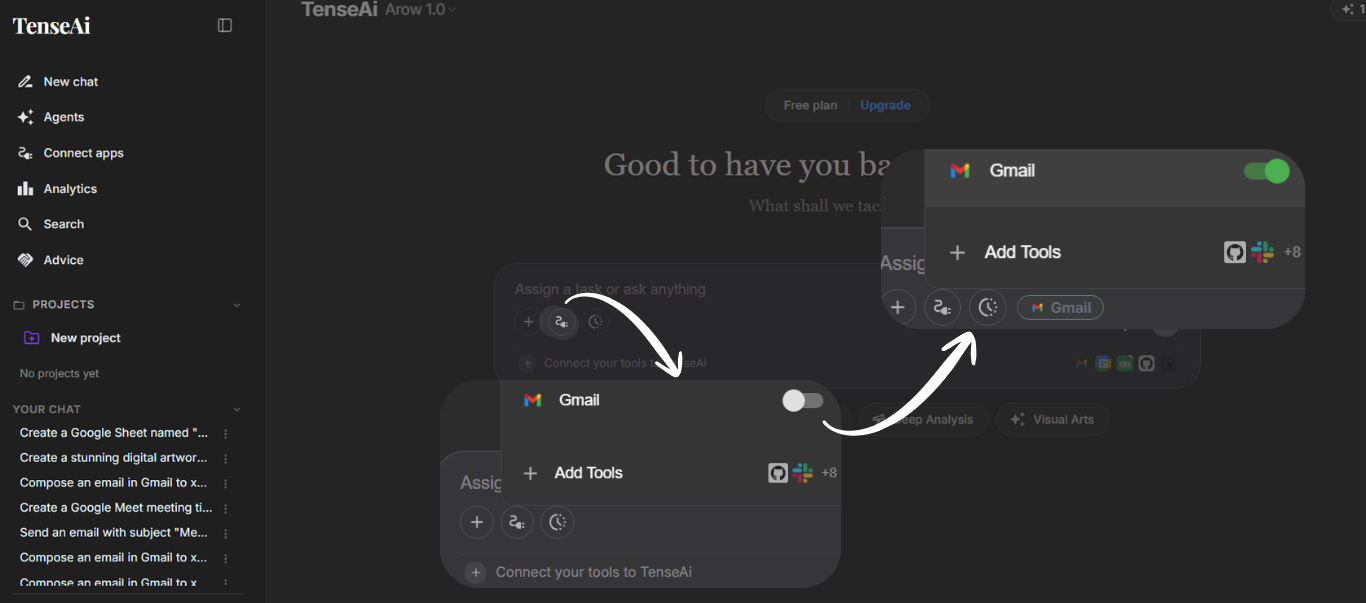
Step 2: ✅ Enable Gmail Tool
Activate your integration from the tools section. Cicking Connect is the first step toward full email automation.
TenseAI uses the secure sign-in process to ensure only you can authorize these automated actions.
Approved access means your Gmail is now live on the platform, ready to boost your productivity.
Locate Gmail in the Tools section and toggle it ON. A green switch indicates that your integration is active.
Once enabled, TenseAI can automatically write and send emails based on your natural language commands.
This step is crucial—turning it on ensures the backend engine can securely interact with your Gmail account.
Step 3: ✍️ Give a Prompt
Simply tell TenseAI what you want using natural language. For example: 'Write an email asking for job openings.'
The system instantly understands your intent and begins preparing the draft according to your instructions.
This beginner-friendly approach means anyone can use AI-powered automation without technical expertise.
PROMPT:
Recommended Prompt
Write a Gmail to [EMAIL_ADDRESS] asking for job openings in software development. Include my skills in Next.js and React, and mention my interest in working with the company. Request a response regarding available positions and next steps. Keep the email professional, clear, and well structured.
Step 4: ⚙️ Agent Processes the Request
TenseAI smartly analyzes your request, identifying the recipient, subject line, and core message automatically.
The AI generates a professional, structured draft in seconds, saving you from the hassle of manual typing.
This process ensures your communication is clear, polished, and ready to send instantly.
Step 5: 👁️ Review and Execute
Review your generated draft in a clean, structured format. Check the recipient and content for accuracy.
Once satisfied, click Confirm & Execute. TenseAI will handle the rest through your connected Gmail.
This step provides full user control, ensuring every email sent is professional and accurate.
TenseAI prepares the final plan based on your prompt. Review the recipient, subject, and body before sending to maintain perfect communication standards.
Step 6: 🎉 Email Sent and Confirmation
The system successfully sends your email as soon as you authorize the action.
Receive a real-time confirmation with the final summary, confirming that your command has been executed.
This bridge between intent and action is the core of AI-powered productivity.
The Executed Plan shows every detail of the sent email. This transparency ensures you remain informed and in control.
Your message is delivered as intended, completing the workflow with high accuracy and zero manual friction.
TenseAI builds trust and confidence by delivering reliable automated results every time.